Getting started.
A quick guide to setting up Sundae and taking your first photo.
Set three things, then shoot.
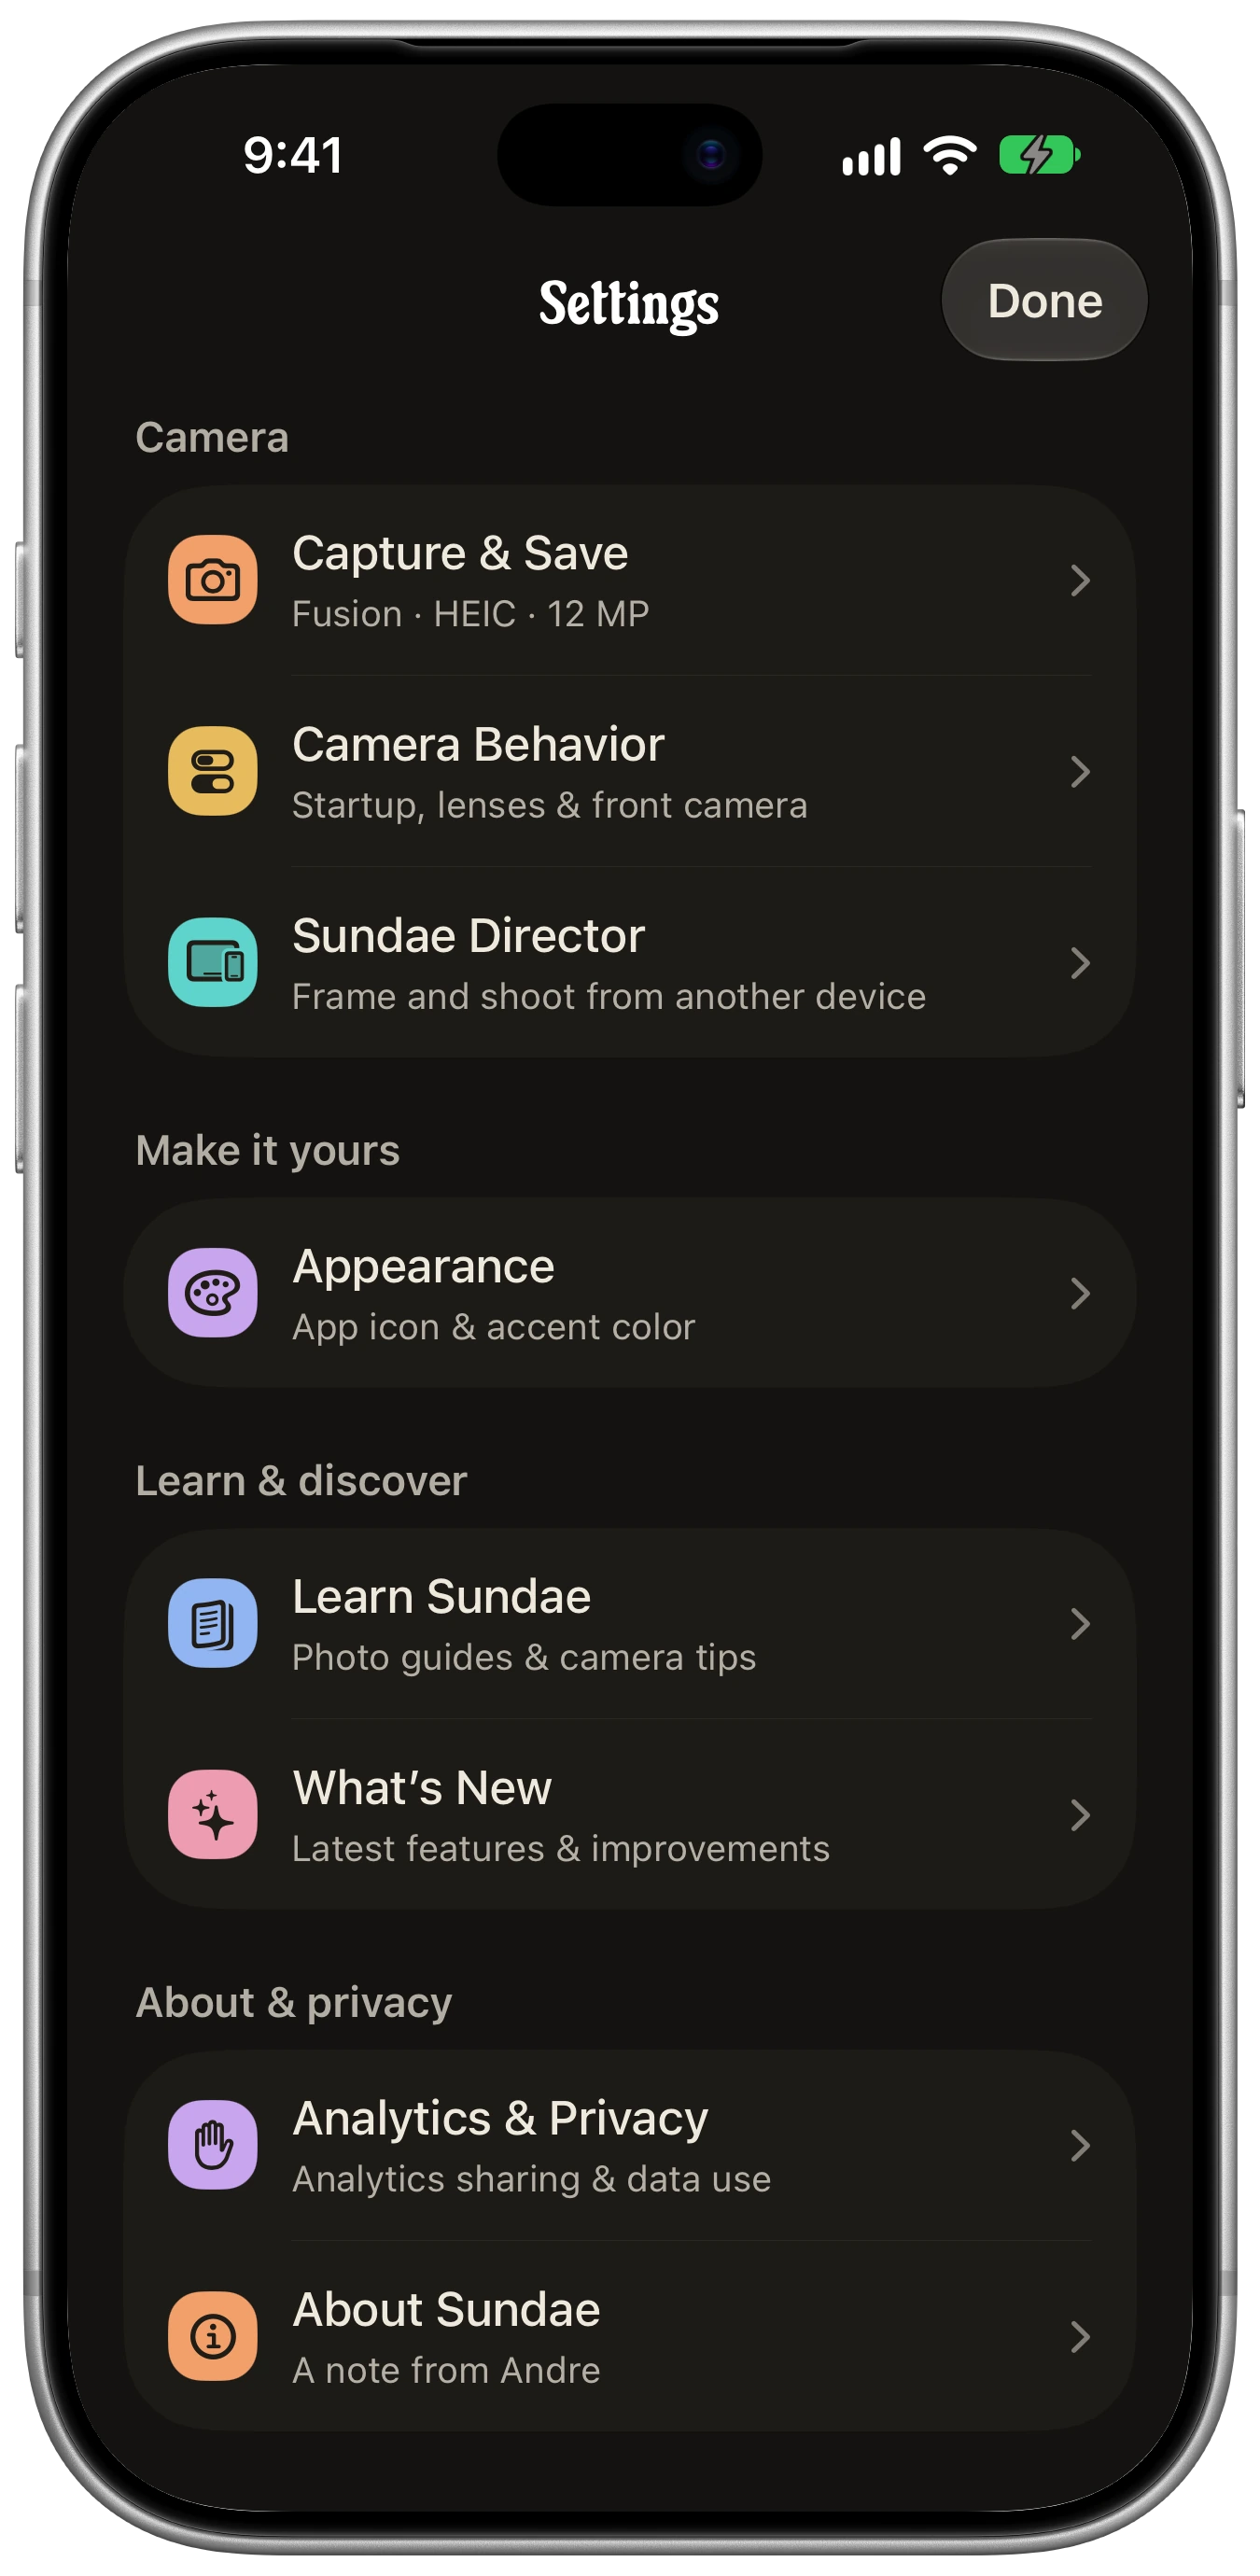
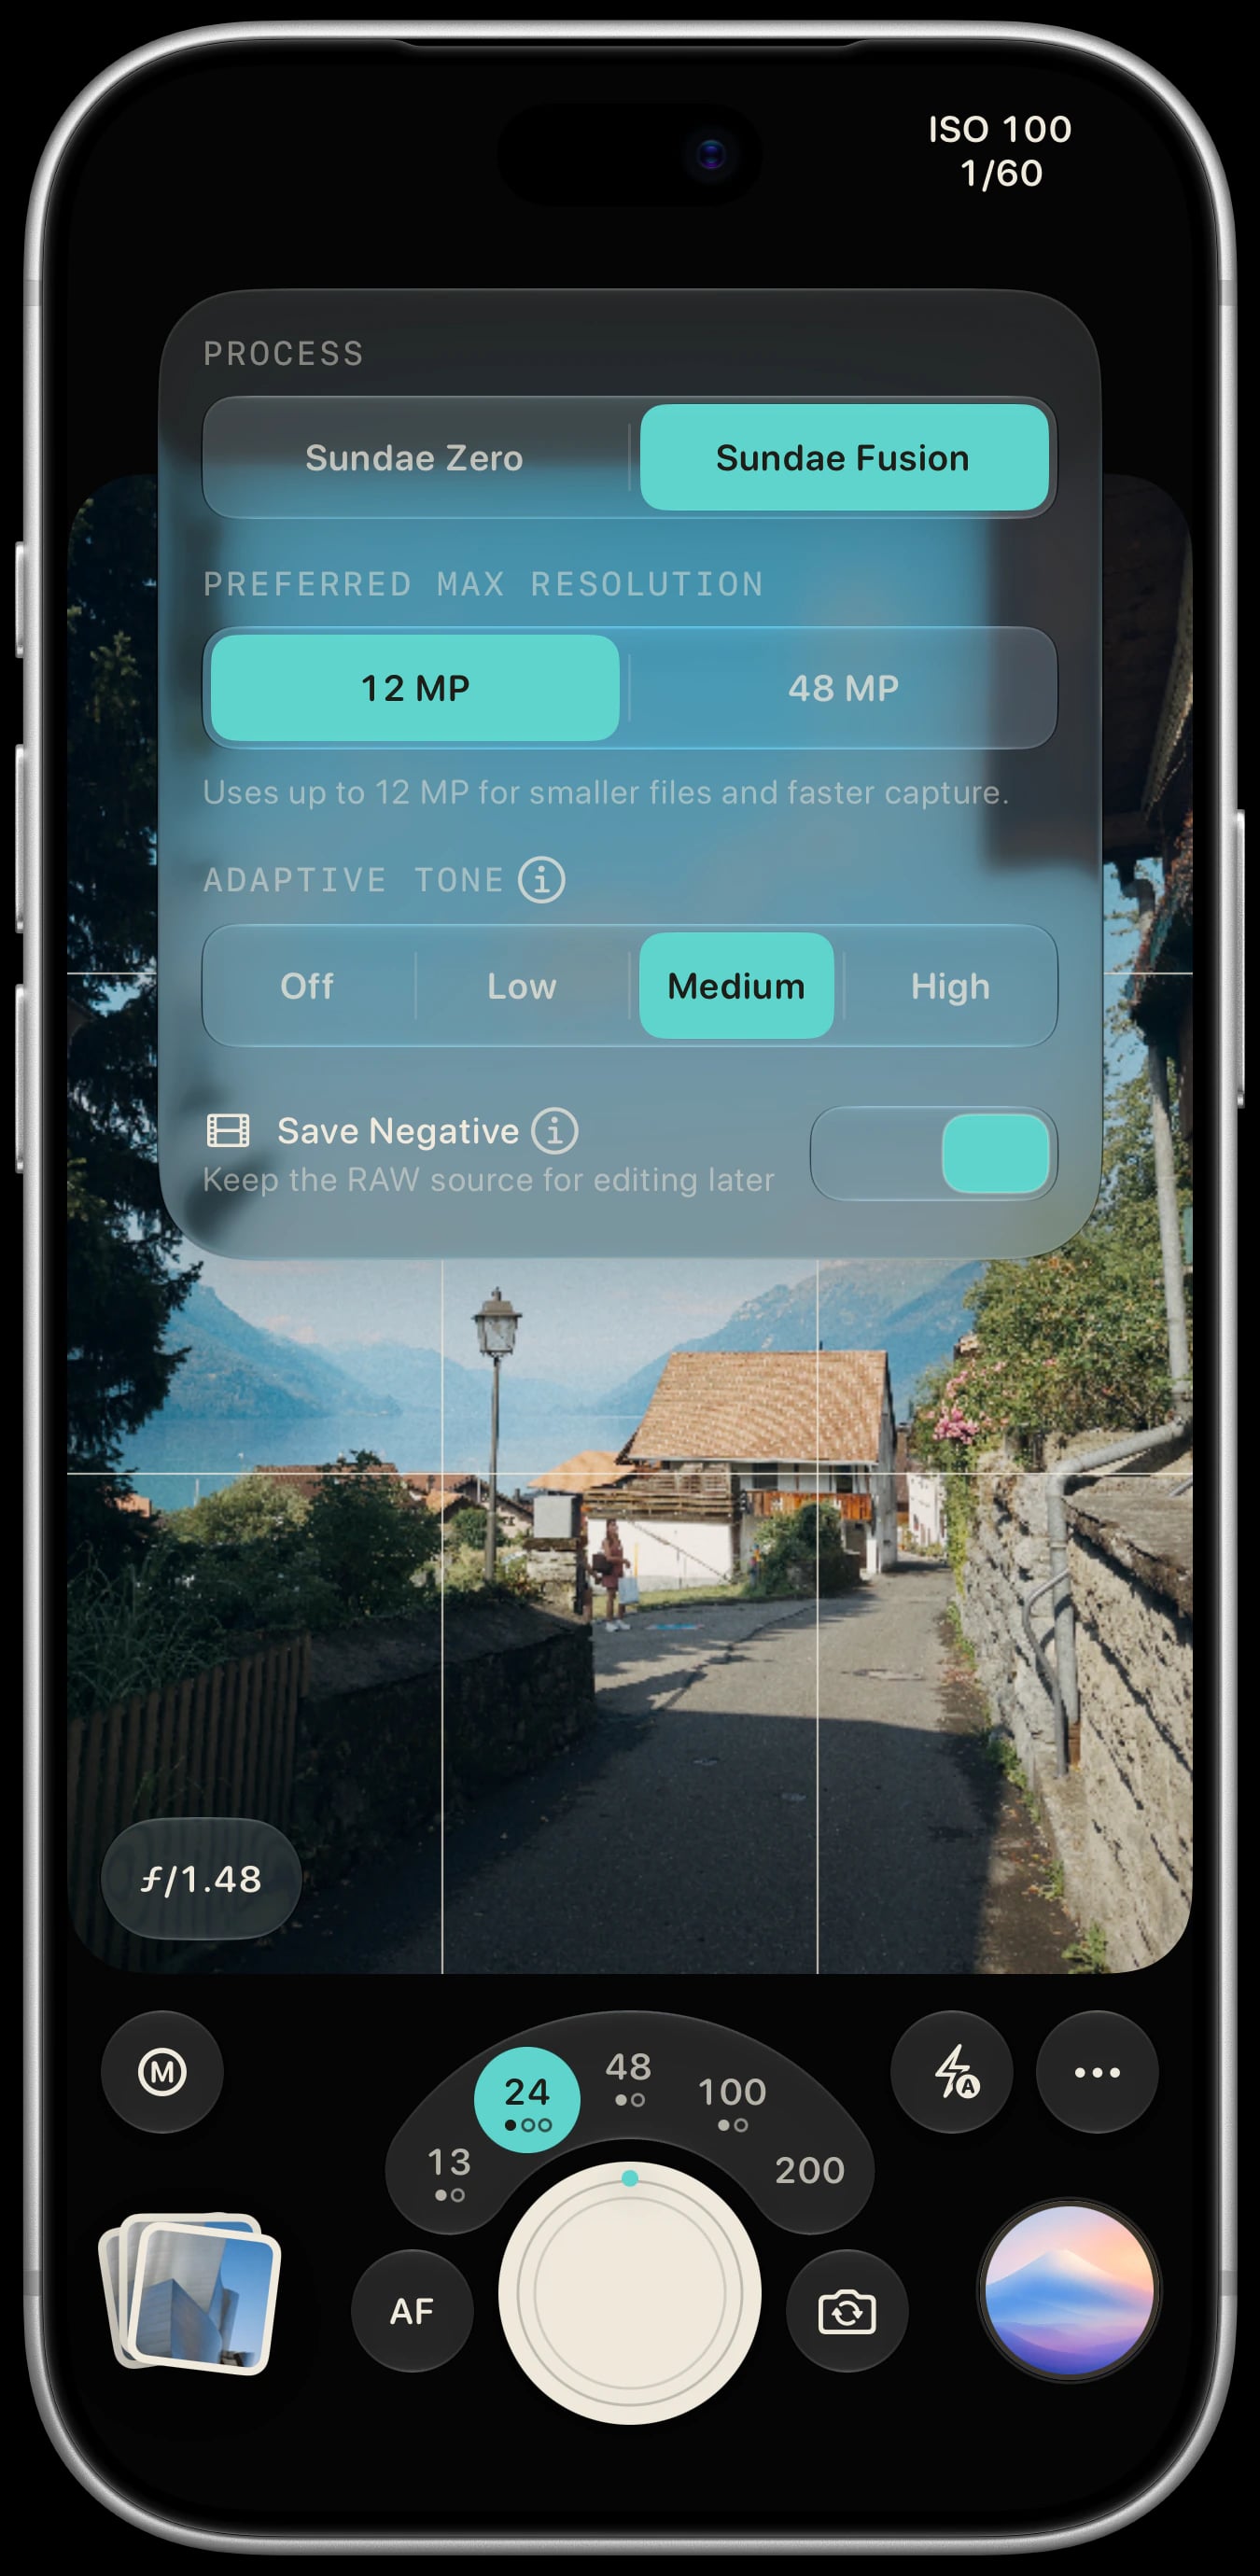
Allow Camera and Photos. Location can stay off. Then open Capture & Save and choose how Sundae should process each shot.
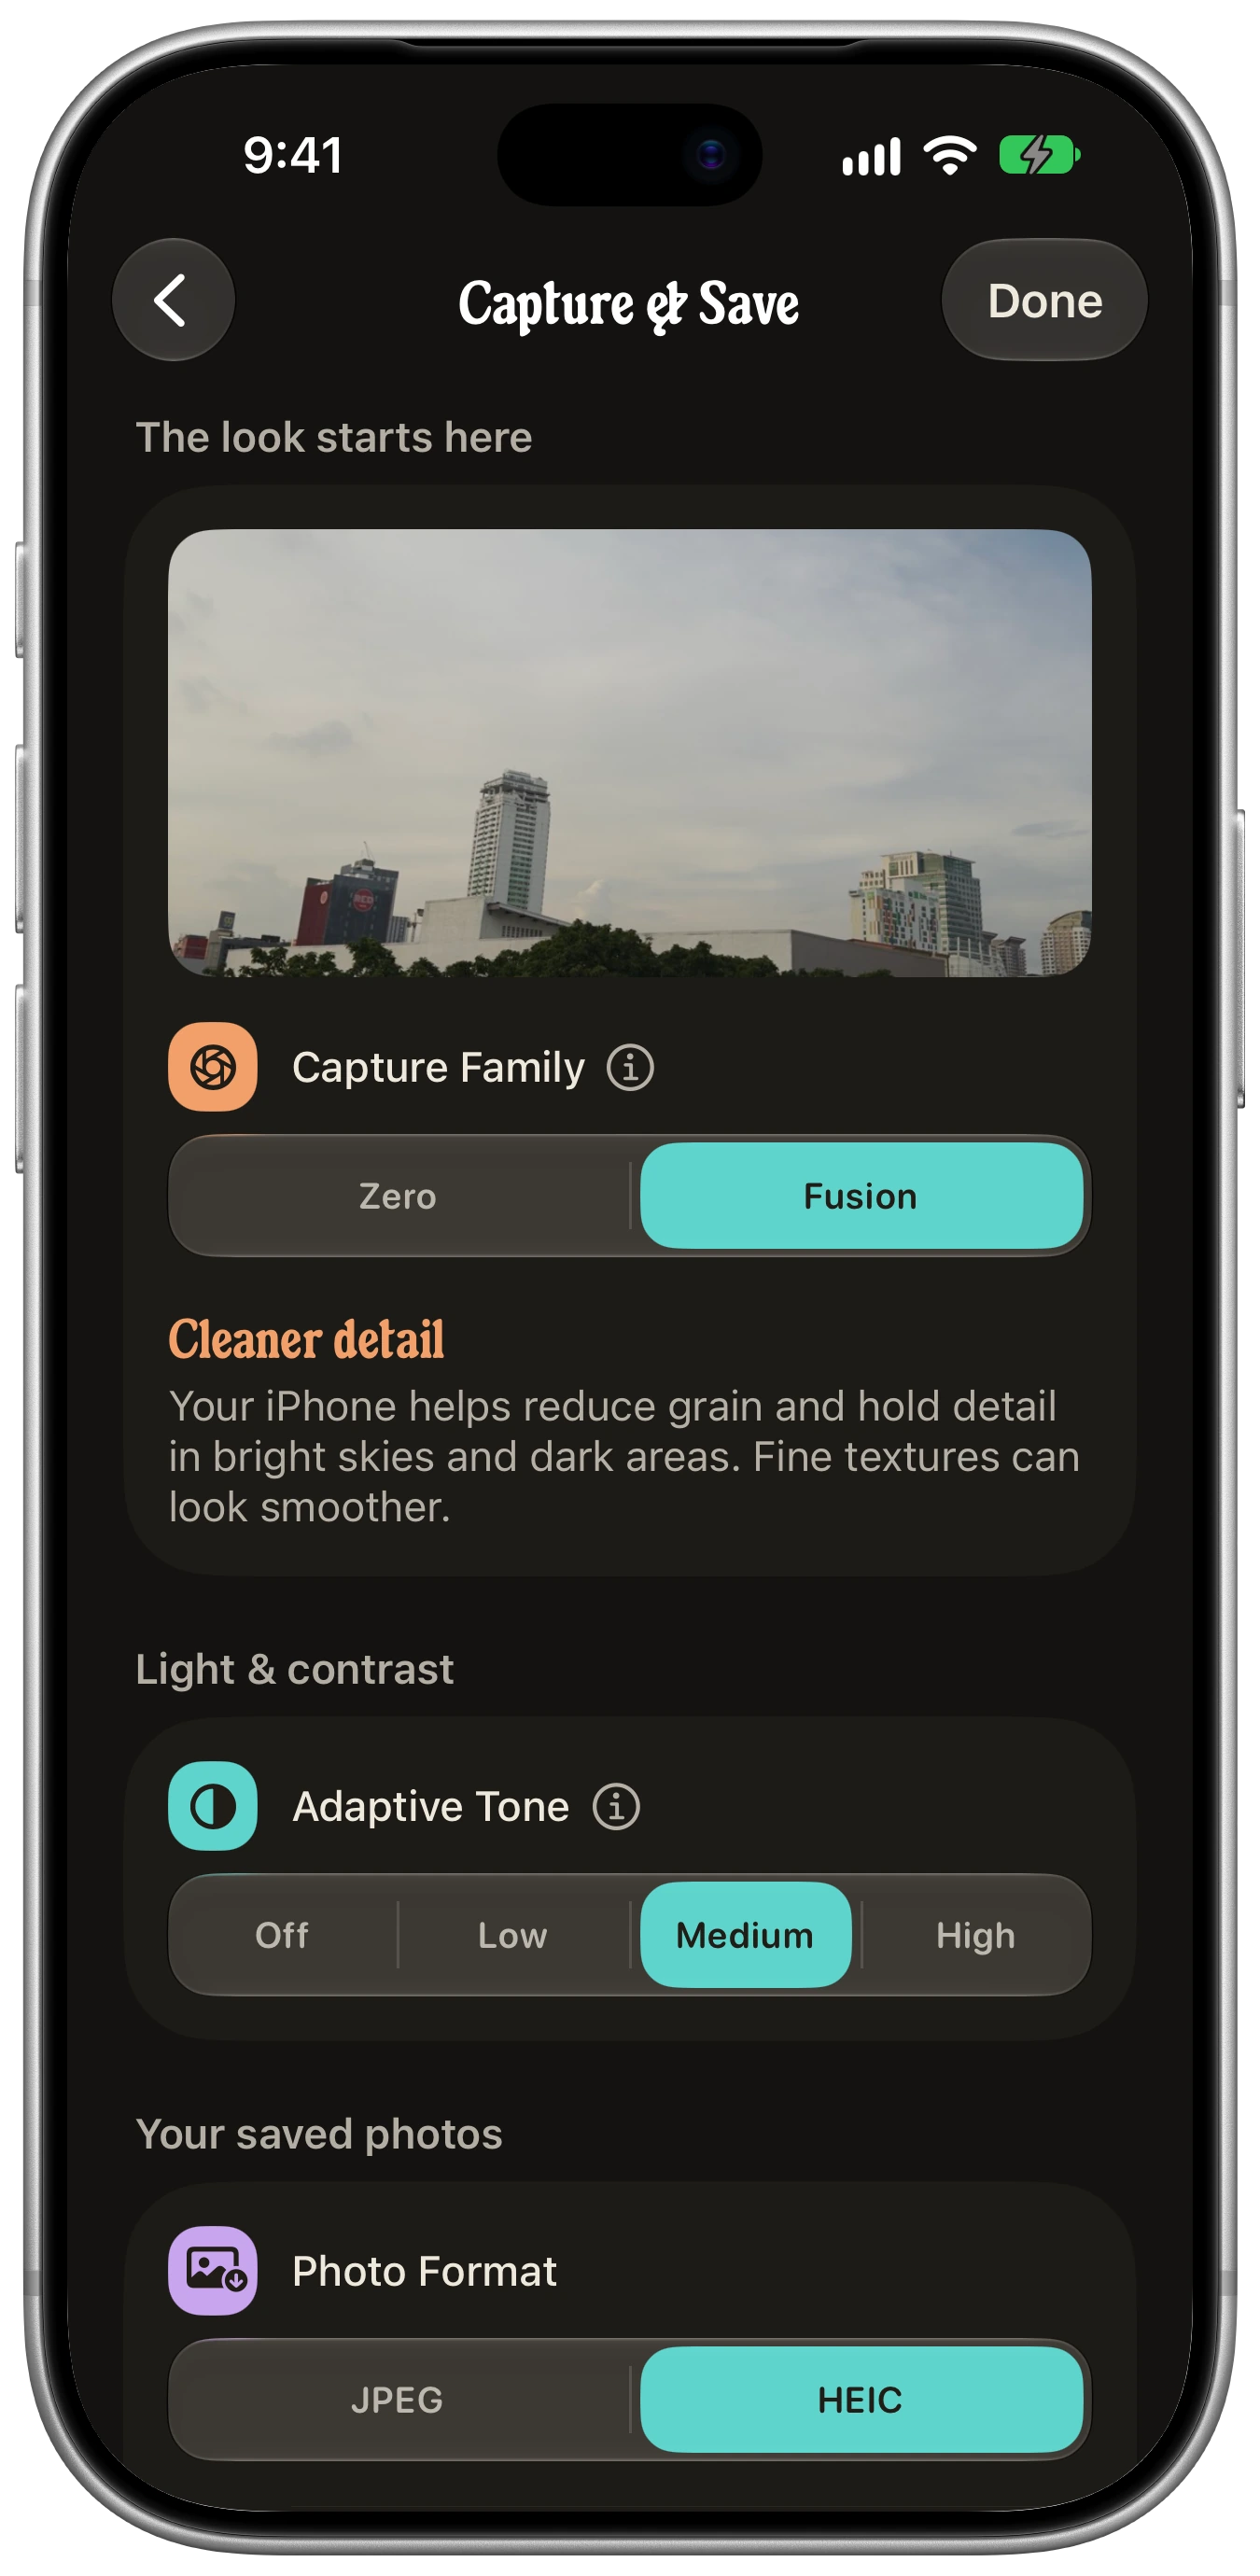
- Capture family
- Zero develops one RAW frame where the camera supports it. Fusion uses Apple ProRAW on supported cameras. The available families and resolutions depend on your device and lens.
- Adaptive Tone
- Medium is a sensible first setting. It balances highlight and shadow detail without changing your Vibe.
- Save Negative
- Turn it on when you want to redevelop the photo later in the Lab. The saved RAW source uses additional storage.
On a supported iPhone, start with Fusion at 12 MP, Adaptive Tone Medium, and Save Negative on. If Fusion isn't available, use the capture family your camera supports. RAW negatives use additional storage.
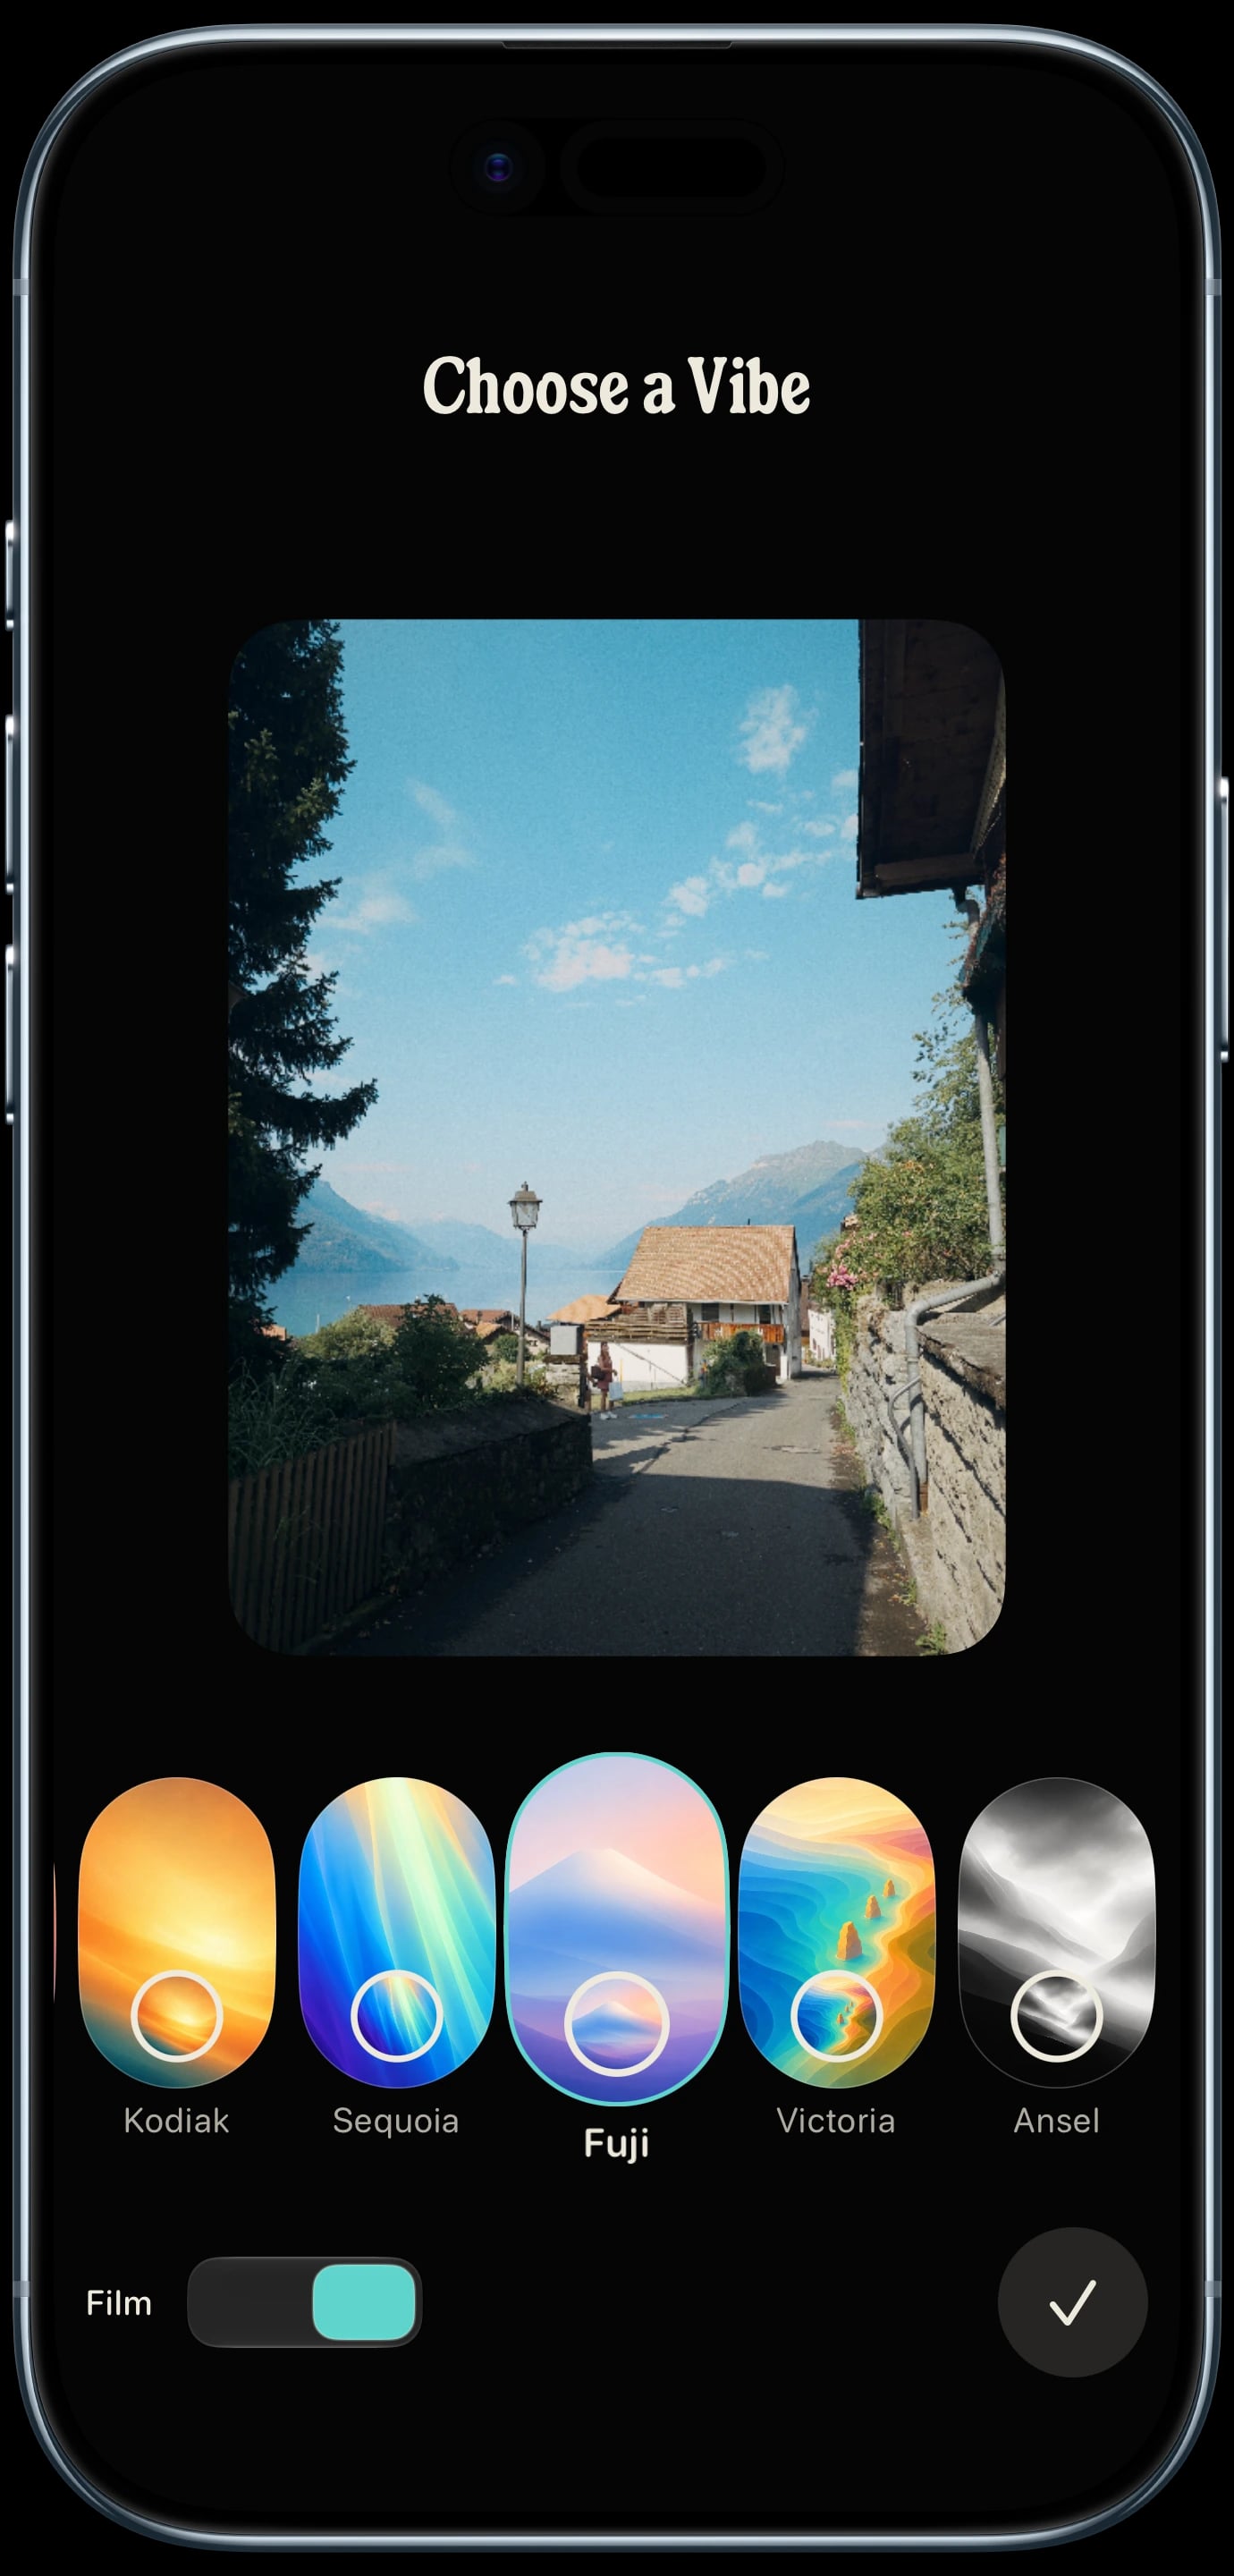
Choose a Vibe. Set focus and exposure.
Tap the artwork beside the Shutter to choose a Vibe. Tap the scene to focus, hold to lock, and swipe up or down to brighten or darken the frame. Switch to manual focus or exposure only when you want more control.
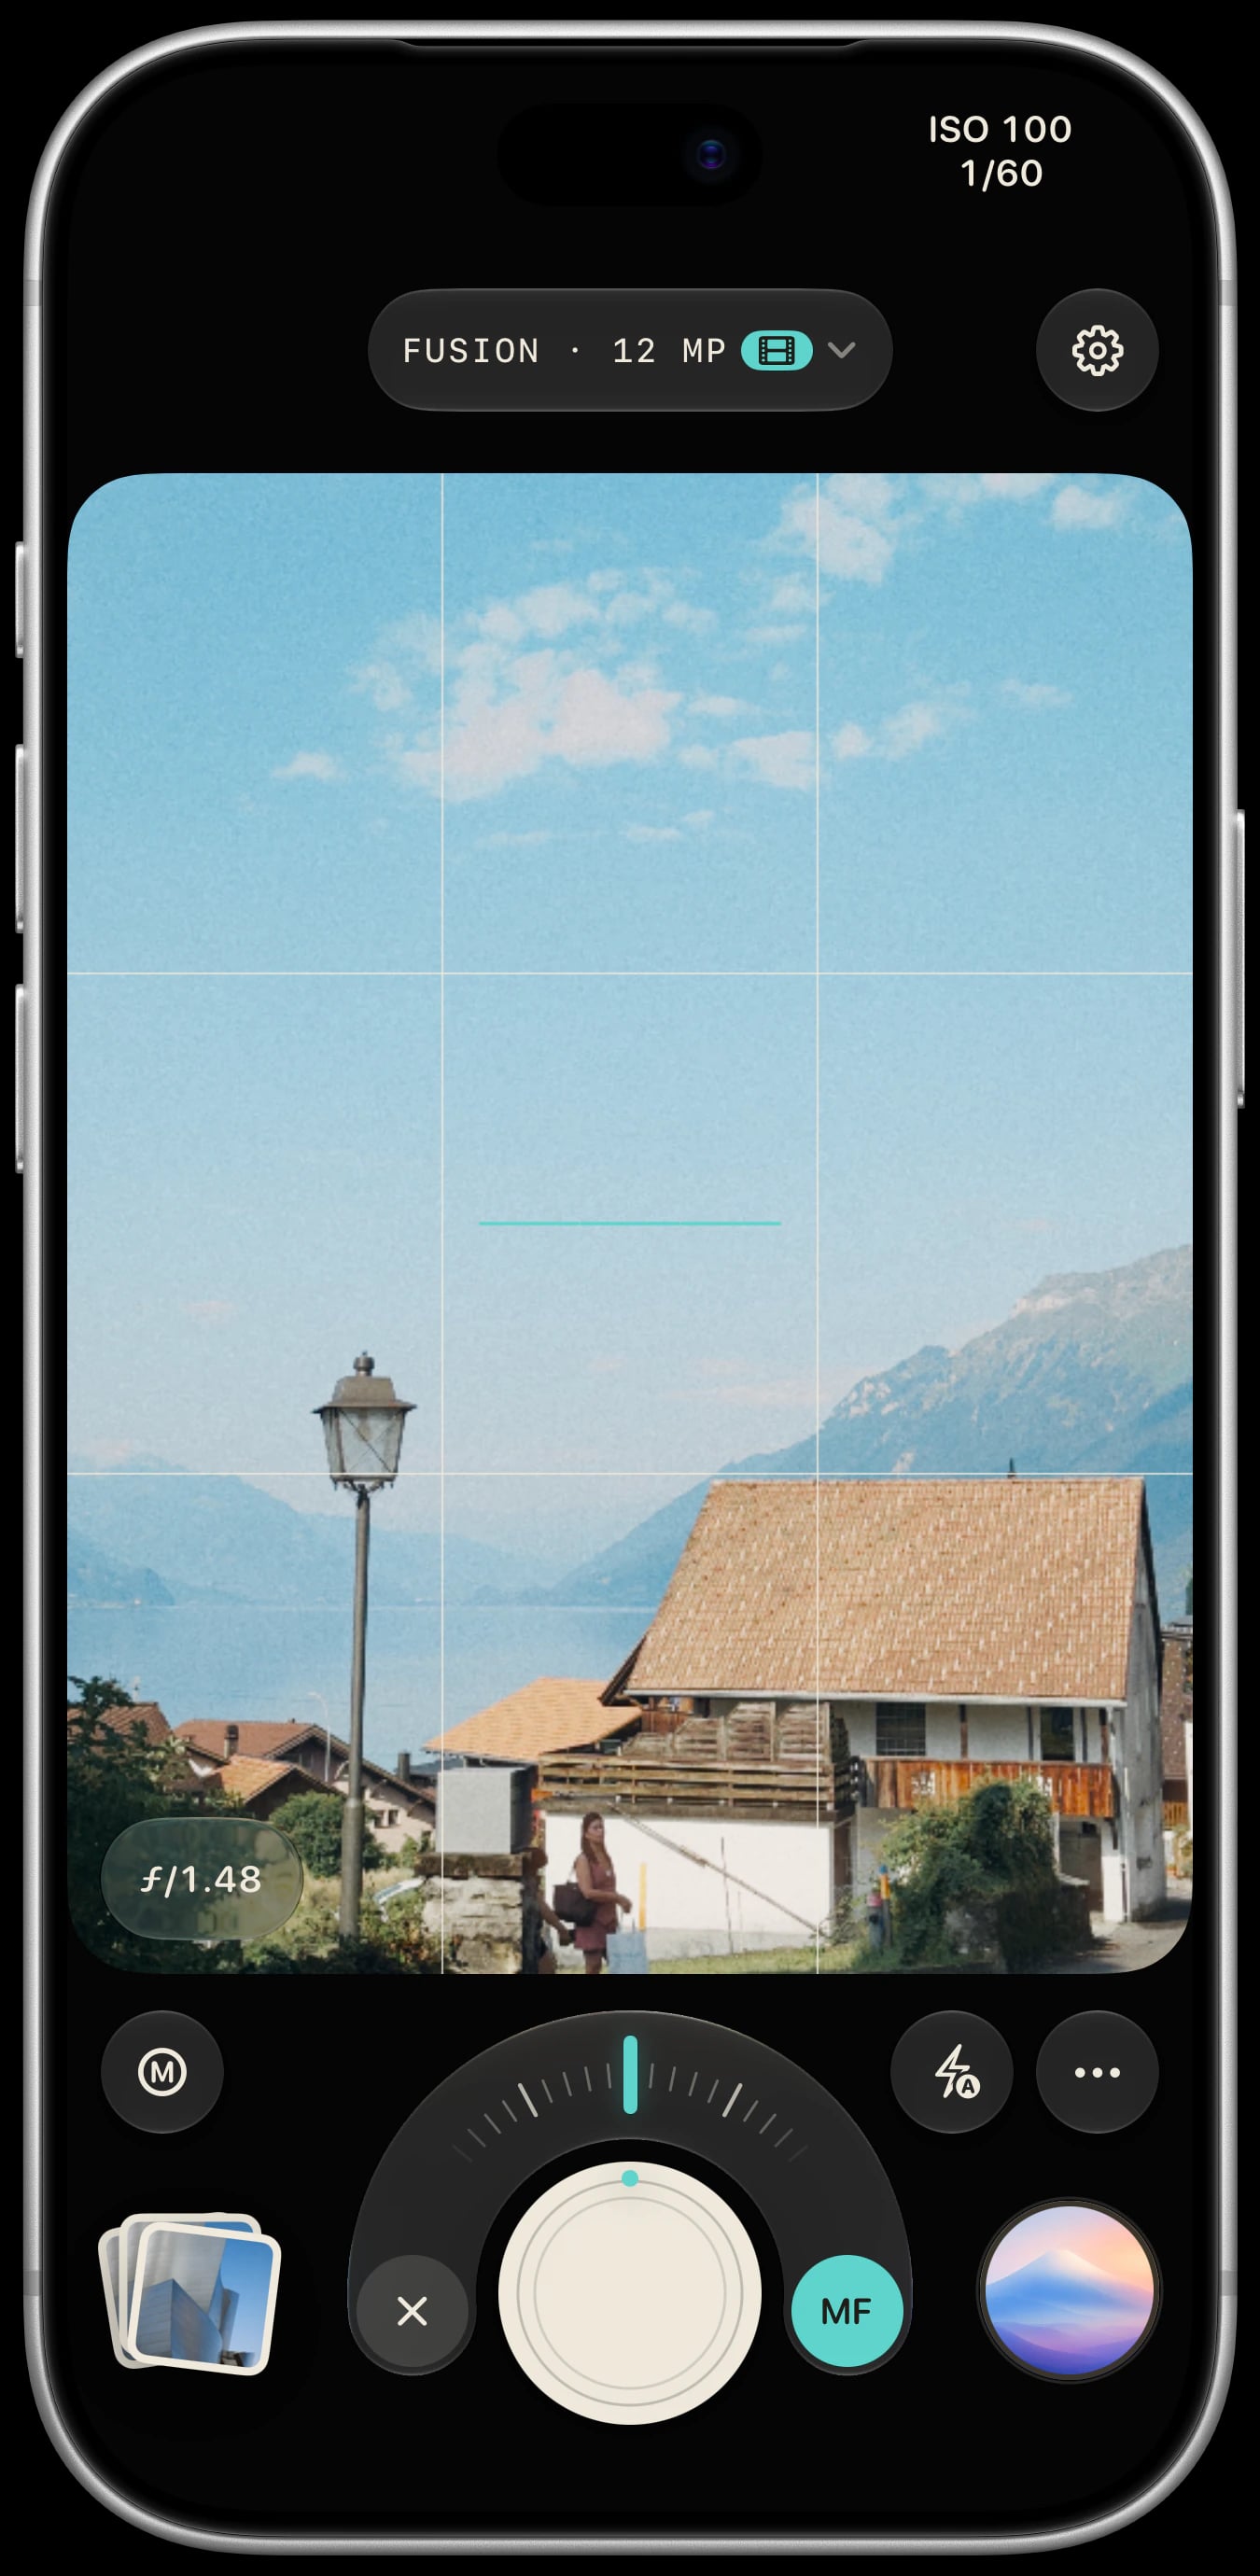
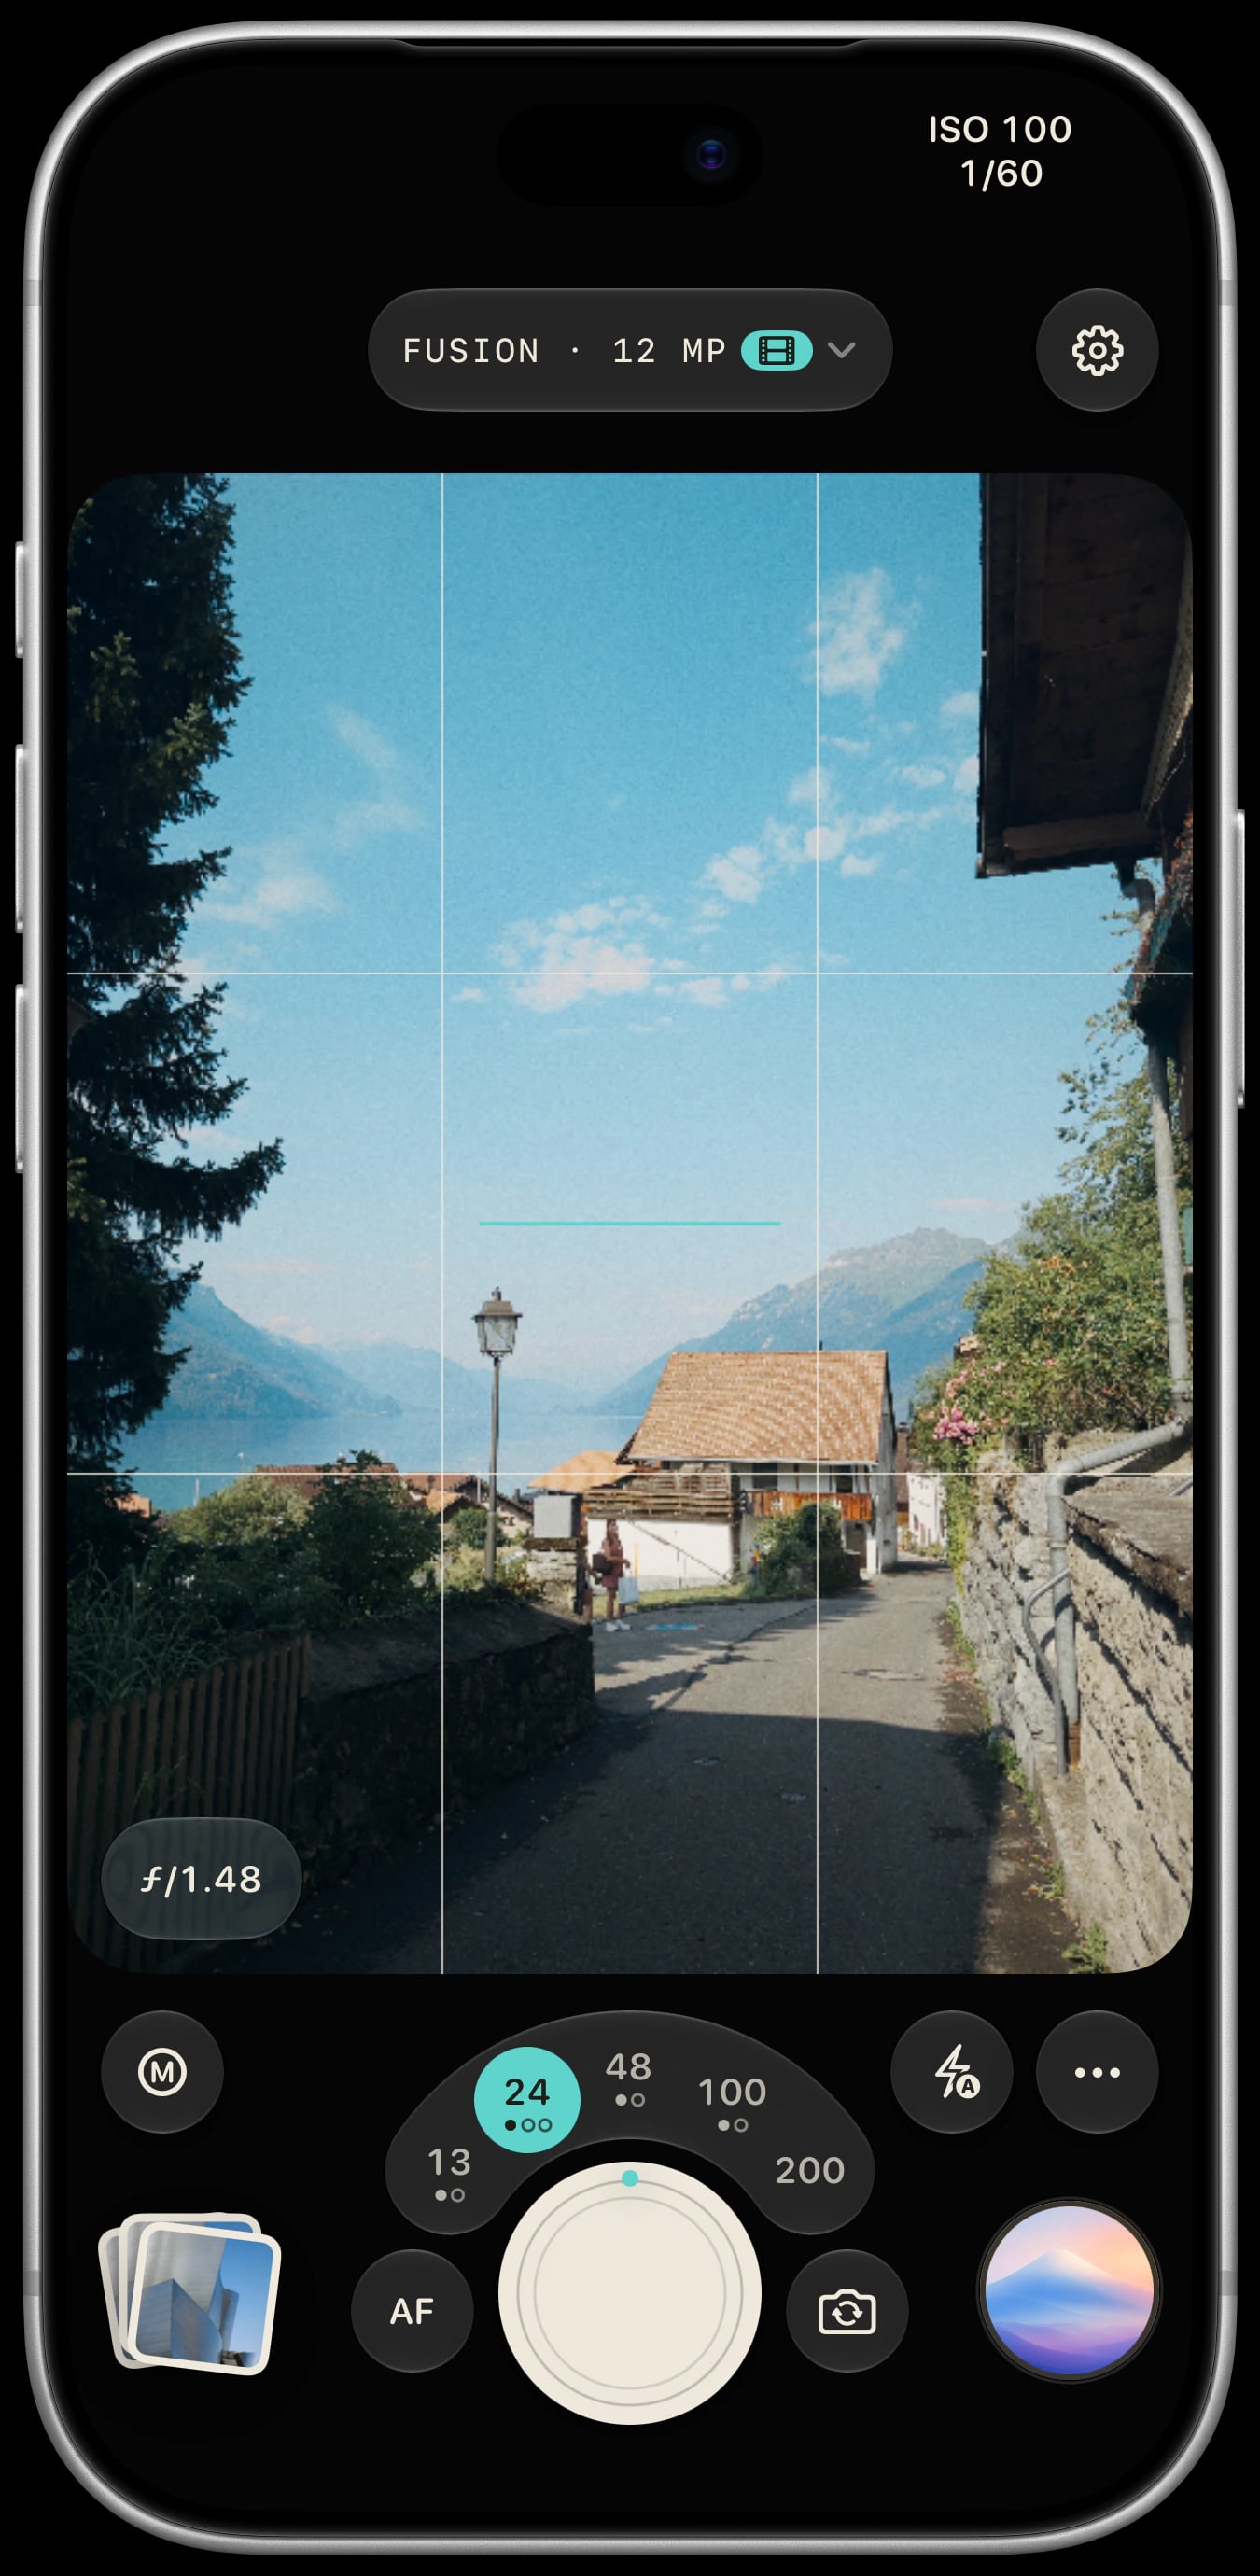
Keep the negative. Change your mind later.
Sundae saves the finished photo to Apple Photos. With Save Negative on and a RAW-capable camera, you can reopen its RAW in the Lab to change the Vibe, exposure, color, crop, or film treatment. A HEIC or JPEG without a RAW source cannot be redeveloped. Save as New creates a developed copy without a RAW companion; keep the original for later RAW edits.
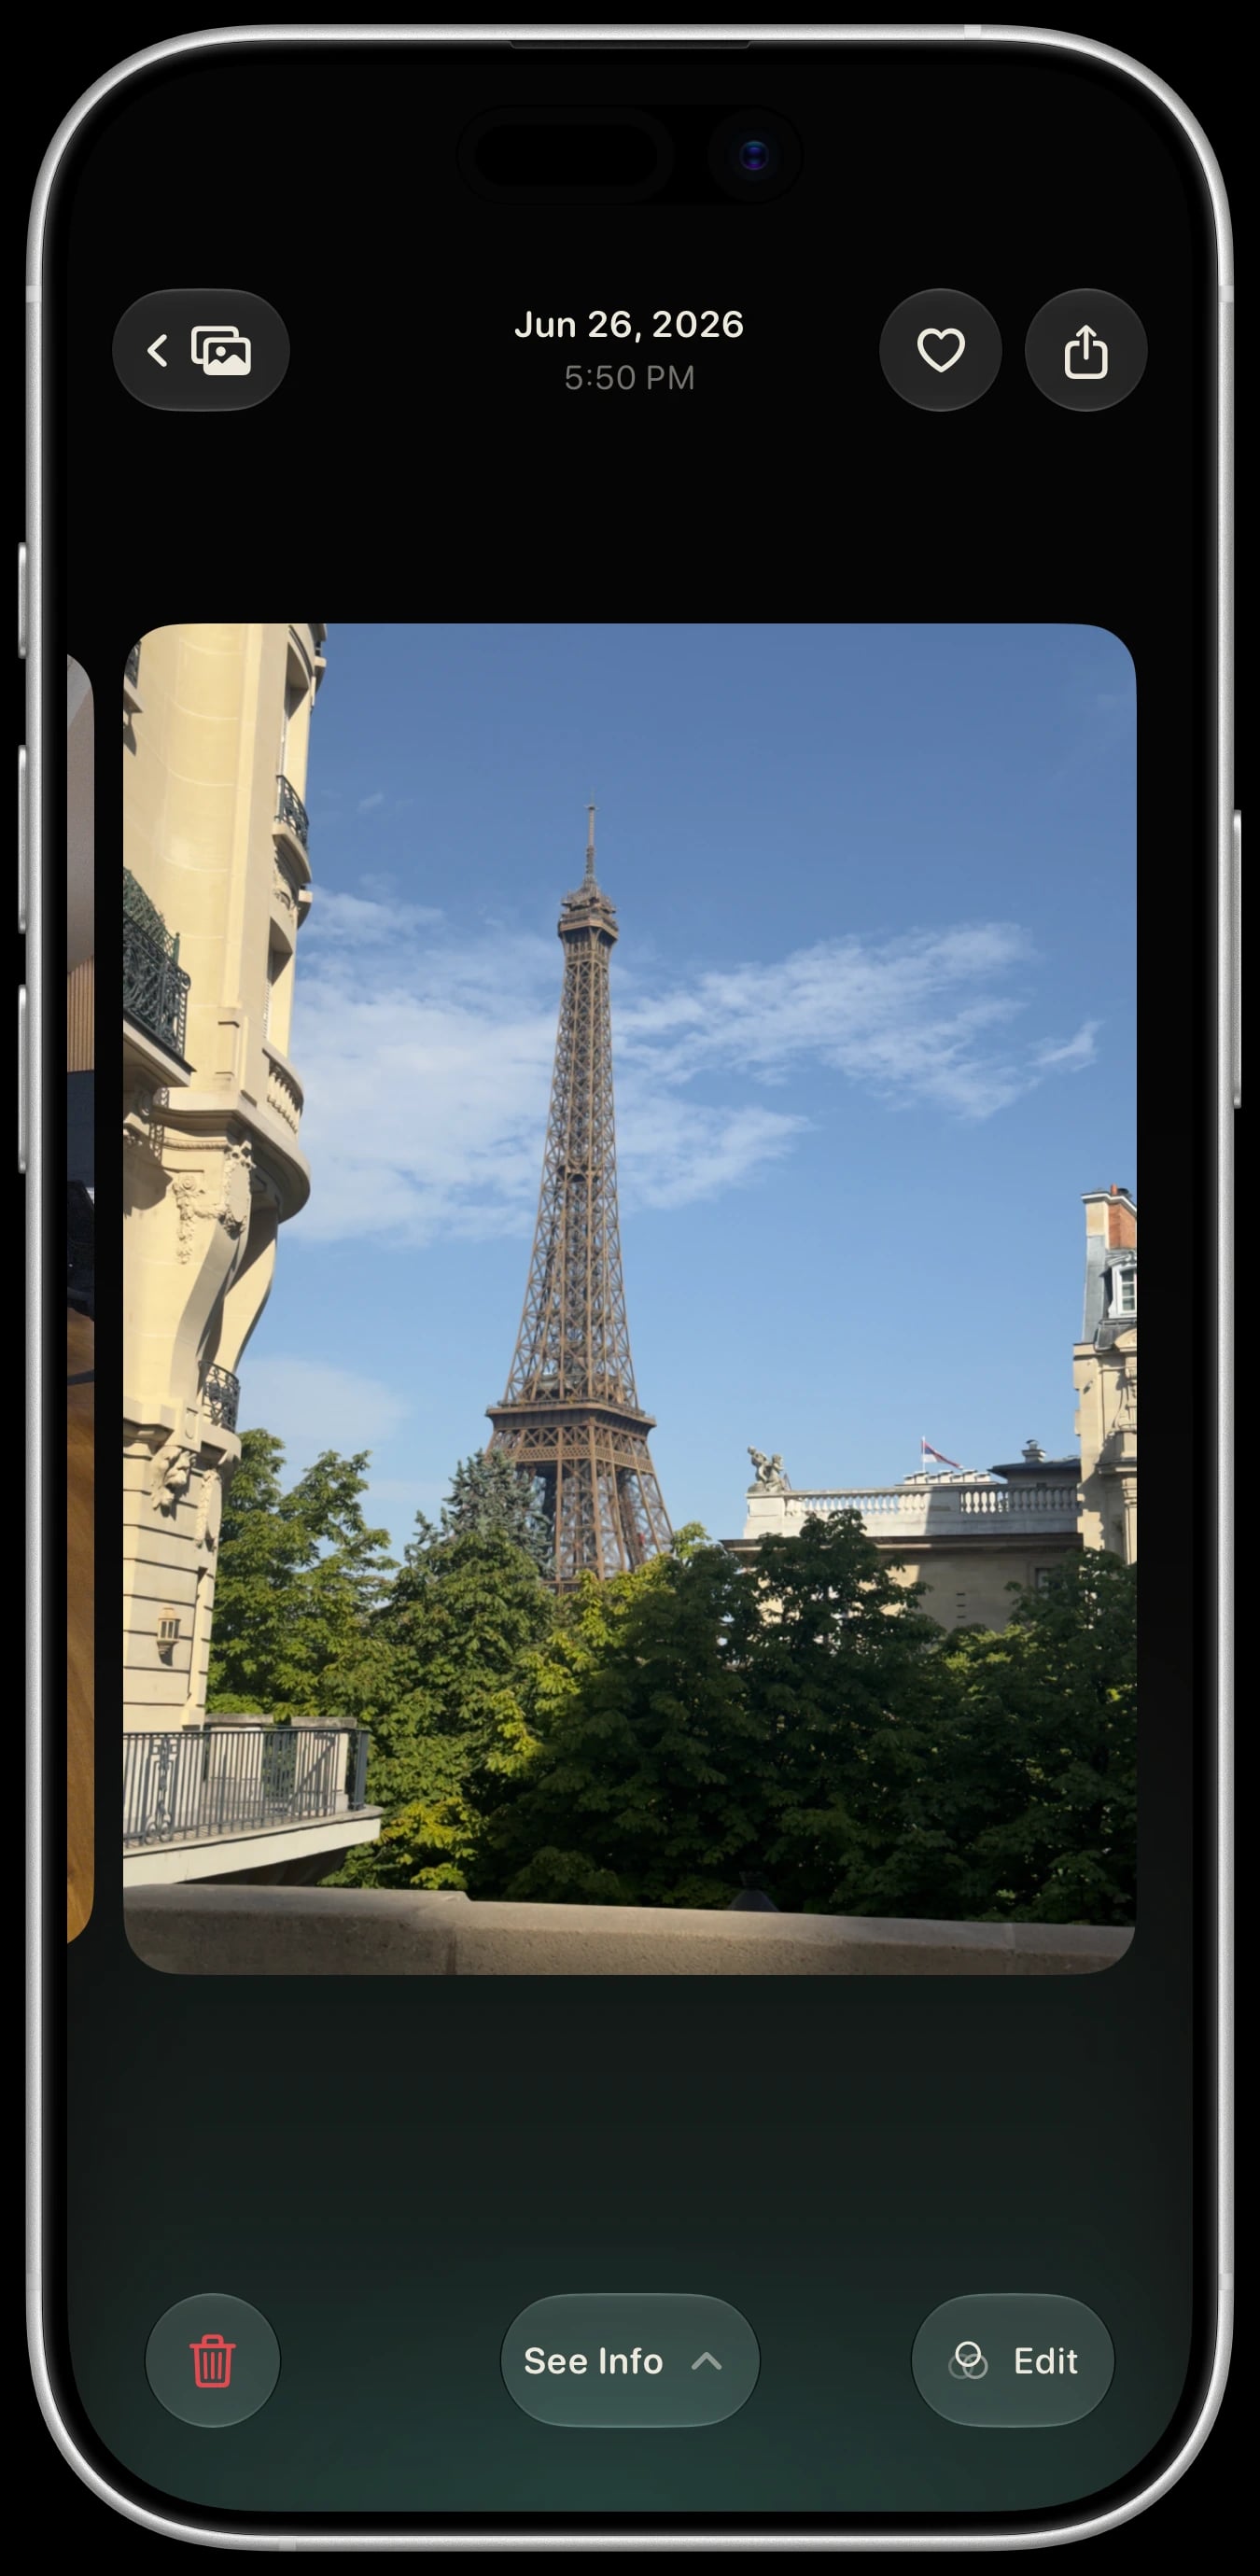
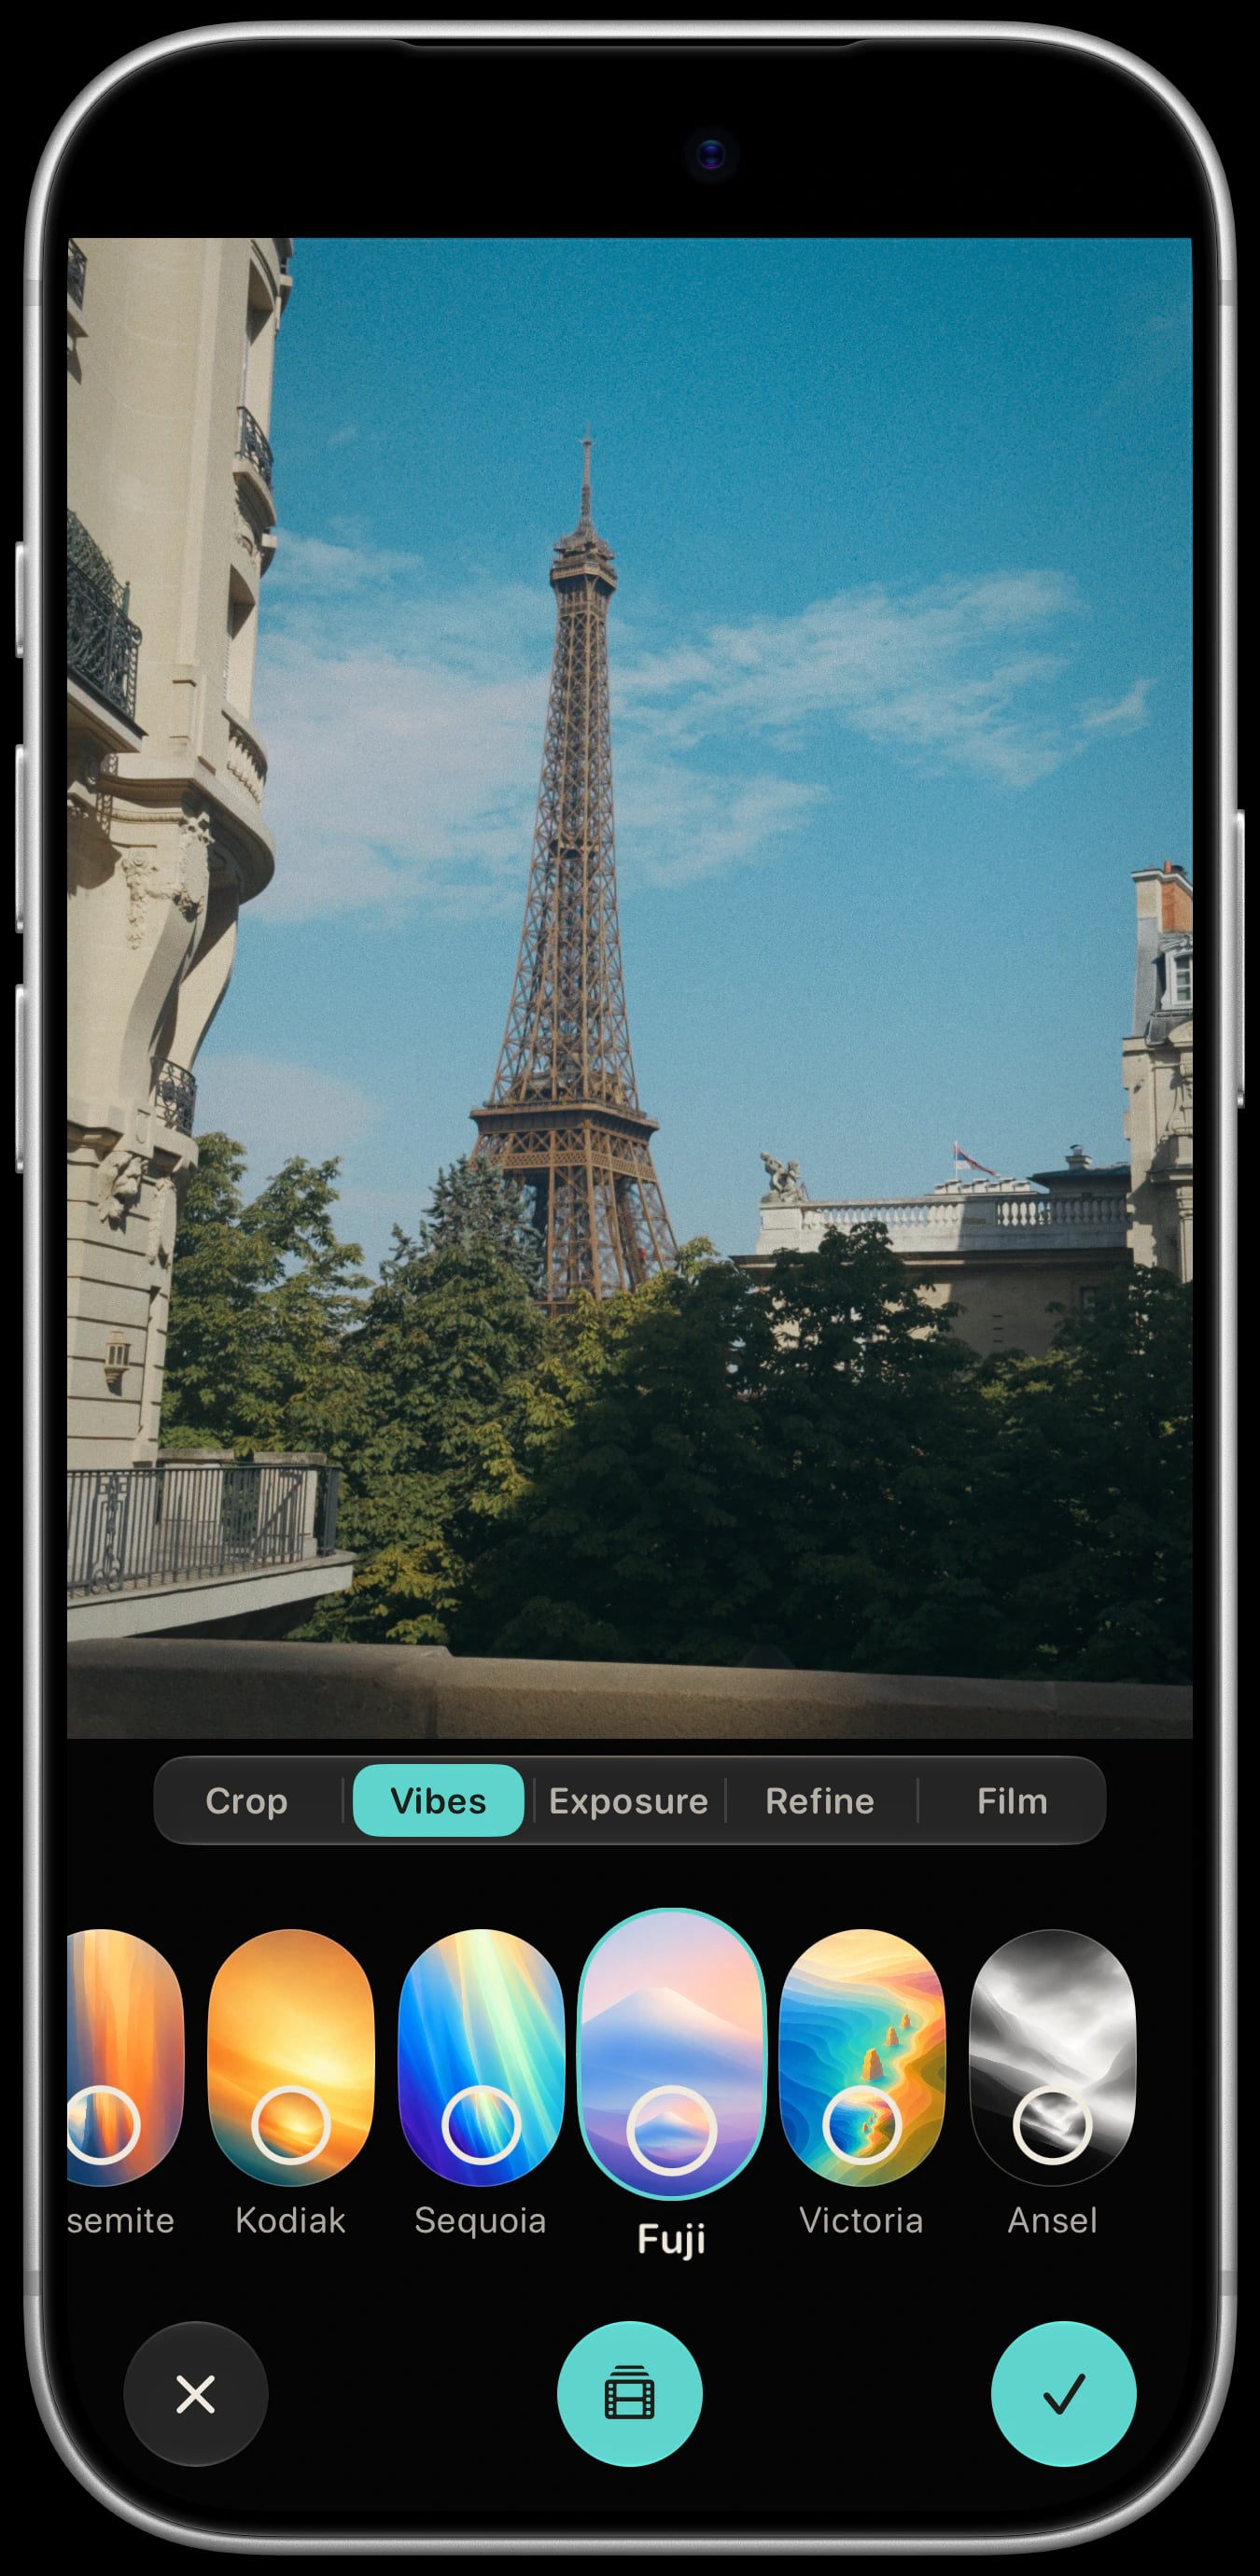
You don't have to memorize it.
Settings → Learn Sundae replays the hands-on lessons for Vibes, focus, exposure, Adaptive Tone, Save Negative, and the Lab. For device compatibility, RAW imports, Apple Watch, or a photo that hasn't saved, visit the support page.